Table of Contents
In recent years, chatbots have emerged as a pivotal tool for businesses, offering enhanced user engagement and immediate support. The ability of chatbots to provide instant responses and handle numerous queries simultaneously makes them invaluable. React, a powerful JavaScript library for building user interfaces, has gained immense popularity among developers due to its flexibility, efficiency, and robustness. When developing chatbots, React’s component-based architecture is particularly advantageous, allowing developers to build scalable and maintainable applications.
In this comprehensive guide, we will cover the process of developing a chatbot using React. We will explore why React is an optimal choice for chatbot development, outline essential development and design principles, and discuss best practices to make your chatbot project successful with React.js development services.
What Makes React Preferable for Chatbot Development?
# Component-Based Architecture
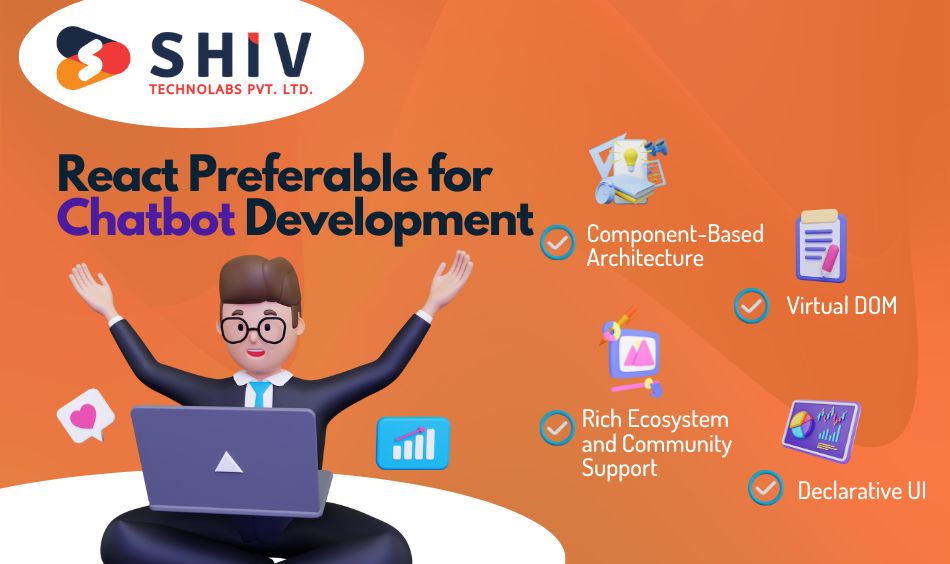
React’s component-based architecture is a significant advantage in chatbot development. This approach allows developers to break down the user interface into reusable components, making the code more modular and easier to manage. Each component can be developed, tested, and debugged independently, which simplifies the development process and boosts productivity.
# Virtual DOM
The Virtual DOM is another key feature of React that makes it suitable for chatbot development. It updates the user interface efficiently by only re-rendering components that have changed. This leads to faster performance and a smoother user experience, which is crucial for chatbots that need to provide real-time responses.
# Rich Ecosystem and Community Support
React has a vast ecosystem of libraries and tools that can accelerate the development process. From state management solutions like Redux to styling libraries like styled-components, the React ecosystem provides a plethora of resources to aid in chatbot development. Additionally, the strong community support helps developers easily find solutions to common problems and stay updated with the latest advancements.
Also Read:- Top 20 Best React.js Development Tools
# Declarative UI
React’s declarative approach to building user interfaces allows developers to describe what the UI should look like for different states of the application. This makes the code more predictable and easier to debug. In the context of chatbots, this means that developers can focus on defining the different states and interactions of the chatbot, without worrying about how to update the UI manually.
Development Principles for Chatbot
# Simplicity
Simplicity is a fundamental principle in chatbot development. The goal is to create a chatbot that is easy to understand and interact with. This means keeping the conversation flows straightforward and avoiding complex, jargon-filled responses. A simple and intuitive chatbot helps users get the information they need quickly and without frustration.
# Consistency
Consistency is crucial for a seamless user experience. This principle applies to both the chatbot’s behavior and its design. The chatbot should respond consistently to similar queries and provide uniform responses across different platforms. Consistent behavior builds user trust and reliability, making the chatbot more effective in fulfilling its purpose.
# User-Centric Design
A successful chatbot is designed with the user in mind. This means understanding the user’s needs, preferences, and pain points. User-centric design involves creating conversational flows that are natural and engaging, and providing responses that are relevant and helpful. By focusing on the user, React.js developers can create a chatbot that delivers real value and improves user satisfaction.
# Scalability
As your chatbot gains popularity and usage increases, it’s essential to make sure that it can handle the growing demand. Scalability involves designing the chatbot architecture in a way that it can easily accommodate more users and new features. This includes optimizing the backend infrastructure, using efficient algorithms, and writing clean, modular code that can be extended without major refactoring.
Also Read:- Top 15 React Libraries for Modern Businesses
Design Principles for Chatbot
# Clear and Concise Communication
Chatbots should communicate clearly and concisely to avoid any confusion. This involves using simple language, avoiding long paragraphs, and breaking down complex information into digestible chunks. A clear and concise communication style helps users easily understand and follow the conversation, leading to a better user experience.
# Personality and Tone
Giving your chatbot a personality and a consistent tone can make interactions more engaging and enjoyable. The personality should align with the brand’s voice and the chatbot’s purpose. Whether it’s formal, friendly, or humorous, maintaining a consistent tone throughout the conversation helps create a more relatable and human-like interaction.
# Visual Cues
Incorporating visual cues, such as buttons, quick replies, and images, can enhance the user experience. Visual elements make the conversation more interactive and provide users with clear options to choose from. This can help guide the conversation and reduce the likelihood of users entering invalid or ambiguous inputs.
# Error Handling
Effective error handling is crucial for a smooth user experience. Chatbots should be able to gracefully handle unexpected inputs or errors by providing helpful responses and guiding users back on track. This includes acknowledging mistakes, offering alternative options, and making sure users don’t feel frustrated or stuck during the interaction.
Best Practices for React for Chatbot Development
# Component Reusability
One of the core strengths of React is its component-based architecture. To make the most of this, focus on creating reusable components that can be used across different parts of the chatbot. For instance, you can create a message component that handles different types of messages (text, images, buttons) and use it throughout your application. This reduces code duplication and makes maintenance easier.
# State Management
Managing state effectively is crucial for a responsive and interactive chatbot. Consider using state management libraries like Redux or Context API to handle the application state. These tools help manage complex state interactions and ensure that your chatbot responds correctly to user inputs and changes in the application state.
# Asynchronous Data Handling
Chatbots often need to interact with external APIs or databases to fetch and display information. Handling asynchronous data operations efficiently is essential for a smooth user experience. Use React’s built-in hooks like useEffect for fetching data, and consider incorporating error handling and loading states to provide feedback to users while data is being fetched.
# Performance Optimization
Optimizing performance is crucial for a responsive chatbot. This includes minimizing re-renders by using React.memo for memoizing components, implementing lazy loading for heavy components or images, and optimizing the application’s bundle size. A performant chatbot makes sure that users receive prompt responses and have a seamless experience.
# Testing
Testing is an integral part of any development process. Write comprehensive tests for your chatbot using testing libraries like Jest and React Testing Library. This includes unit tests for individual components, integration tests for component interactions, and end-to-end tests for the entire chatbot flow. Testing helps catch bugs early and ensures that your chatbot works as expected.
# Accessibility
Making your chatbot accessible to all users is a key consideration. This includes following accessibility guidelines, such as providing alternative text for images, making sure interactive elements are keyboard navigable, and using semantic HTML elements. An accessible chatbot makes it usable for a wider audience, including people with disabilities.
# User Feedback Loop
Implementing a feedback loop allows you to gather insights from users and continuously improve your chatbot. Provide users with the option to rate their experience or report issues. Use this feedback to identify pain points and make iterative improvements to the chatbot’s functionality and user experience.
# Documentation
Well-documented code and project documentation are essential for maintaining and scaling your chatbot. Make sure that your code is well-commented and that you provide comprehensive documentation for the project setup, component usage, and API integrations. Good documentation helps new developers get up to speed quickly and makes sure the project can be maintained efficiently.
Step-by-Step Guide to Building a Chatbot with React
Step 1: Setting Up the React Project
First, set up a new React project using Create React App. This tool provides a modern build setup with no configuration.
npx create-react-app chatbot-app
cd chatbot-app
npm start
Step 2: Installing Necessary Libraries
Next, install any libraries you might need. For a chatbot, you might want to use axios for API calls and styled-components for styling.
npm install axios styled-components
Step 3: Creating the Chatbot Component
Create a new component for your chatbot. This will be the main interface where users interact with the bot.
import React, { useState } from 'react';
import styled from 'styled-components';
import axios from 'axios';

const ChatbotContainer = styled.div`
  width: 300px;
  height: 500px;
  border: 1px solid #ccc;
  border-radius: 8px;
  padding: 16px;
  display: flex;
  flex-direction: column;
`;

const MessagesContainer = styled.div`
  flex: 1;
  overflow-y: auto;
`;

const InputContainer = styled.div`
  display: flex;
`;

const Input = styled.input`
  flex: 1;
  padding: 8px;
  border: 1px solid #ccc;
  border-radius: 4px;
`;

const Button = styled.button`
  padding: 8px 16px;
  border: none;
  background-color: #007bff;
  color: white;
  border-radius: 4px;
  cursor: pointer;
`;

const Chatbot = () => {
  const [messages, setMessages] = useState([]);
  const [input, setInput] = useState('');

  const sendMessage = async () => {
    if (input.trim()) {
      setMessages([...messages, { text: input, user: true }]);
      const response = await axios.post('/api/chatbot', { message: input });
      setMessages([...messages, { text: input, user: true }, { text: response.data.reply, user: false }]);
      setInput('');
    }
  };

  return (
    <ChatbotContainer>
      <MessagesContainer>
        {messages.map((message, index) => (
          <div key={index} style={{ textAlign: message.user ? 'right' : 'left' }}>
            <p>{message.text}</p>
          </div>
        ))}
      </MessagesContainer>
      <InputContainer>
        <Input value={input} onChange={(e) => setInput(e.target.value)} />
        <Button onClick={sendMessage}>Send</Button>
      </InputContainer>
    </ChatbotContainer>
  );
};

export default Chatbot;
Step 4: Setting Up the Backend
For the chatbot to respond intelligently, you’ll need a backend service that processes user inputs and returns appropriate responses. You can use Node.js and Express for the backend.
mkdir backend
cd backend
npm init -y
npm install express body-parser axios
Create a simple server in “index.js”.
const express = require('express');
const bodyParser = require('body-parser');

const app = express();
app.use(bodyParser.json());

app.post('/api/chatbot', (req, res) => {
  const userMessage = req.body.message;
  const botReply = `You said: ${userMessage}`; // Replace this with your logic
  res.json({ reply: botReply });
});

app.listen(5000, () => {
  console.log('Server is running on port 5000');
});
Step 5: Connecting Frontend and Backend
Ensure your React app communicates with the backend by updating the proxy setting in “package.json”.
"proxy": "http://localhost:5000"
Now, your chatbot component can send messages to the backend and display the responses.
Step 6: Adding Features and Enhancements
To make your chatbot more interactive and useful, consider adding the following features:
- Natural Language Processing (NLP): Integrate an NLP service like Dialogflow or IBM Watson to provide more intelligent responses.
- User Authentication: Implement user authentication to provide personalized experiences.
- Persistence: Store conversation history in a database so users can see their previous interactions.
Example: Integrating Dialogflow
First, install the necessary library:
npm install dialogflow
Then, update your backend to use Dialogflow for generating responses.
const dialogflow = require('dialogflow');
const projectId = 'your-project-id'; // Your Dialogflow project ID
const sessionId = '123456';
const languageCode = 'en-US';

const sessionClient = new dialogflow.SessionsClient();
const sessionPath = sessionClient.sessionPath(projectId, sessionId);

app.post('/api/chatbot', async (req, res) => {
  const userMessage = req.body.message;

  const request = {
    session: sessionPath,
    queryInput: {
      text: {
        text: userMessage,
        languageCode: languageCode,
      },
    },
  };

  const responses = await sessionClient.detectIntent(request);
  const result = responses[0].queryResult;

  res.json({ reply: result.fulfillmentText });
});
By following these steps, you can develop a fully functional chatbot using React. This chatbot can handle user interactions, fetch data from external sources, and provide intelligent responses, offering a smooth user experience.
Conclusion
In conclusion, developing a chatbot with React is a powerful way to improve user engagement and streamline customer service. By following this step-by-step guide, you can create a dynamic and responsive chatbot tailored to your needs. For professional assistance and expert solutions, Shiv Technolabs is a leading React JS development company in UAE, offering top-notch services to bring your chatbot project to life. Contact us to take advantage of our expertise and make your development efforts successful.
Whether you are building a chatbot for customer support, lead generation, or any other purpose, React provides the tools and flexibility needed to create a robust and engaging solution. By focusing on clear communication, maintaining a consistent tone, incorporating visual cues, and implementing effective error handling, you can build a chatbot that truly adds value to your application.
With this step-by-step guide, you are well-equipped to begin your chatbot development journey with React.


