Table of Contents
When you’re building a cross-platform app using Flutter, plugins help you connect Dart code with native features like GPS, camera, or Bluetooth.
A Flutter plugin is a reusable package of code that provides access to platform-specific functionality. Plugins act as bridges between your Flutter app and native Android (Kotlin/Java) or iOS (Swift/Obj-C) APIs.
Sometimes, existing plugins from pub.dev may not meet your exact needs. You might want access to a specific hardware sensor, a third-party native SDK, or functionality that doesn’t exist in public packages. In such cases, building a custom Flutter plugin is the way to go.
In this guide, we’ll walk you through how to create a custom plugin from scratch. We’ll also explain when and why you should consider writing your own.
What Is a Flutter Plugin?
A Flutter plugin allows your Dart code to interact with platform-specific code on Android and iOS. It uses Method Channels to send data between Dart and native layers.
There are two types of plugins:
- Federated plugins: Support web, mobile, and desktop.
- Platform-specific plugins: Built only for Android and/or iOS.
Flutter plugins are helpful when:
- You need features not available in existing packages.
- You’re integrating custom native libraries.
- You want to reuse native code across multiple apps.
- You need tight control over performance or hardware-level features.
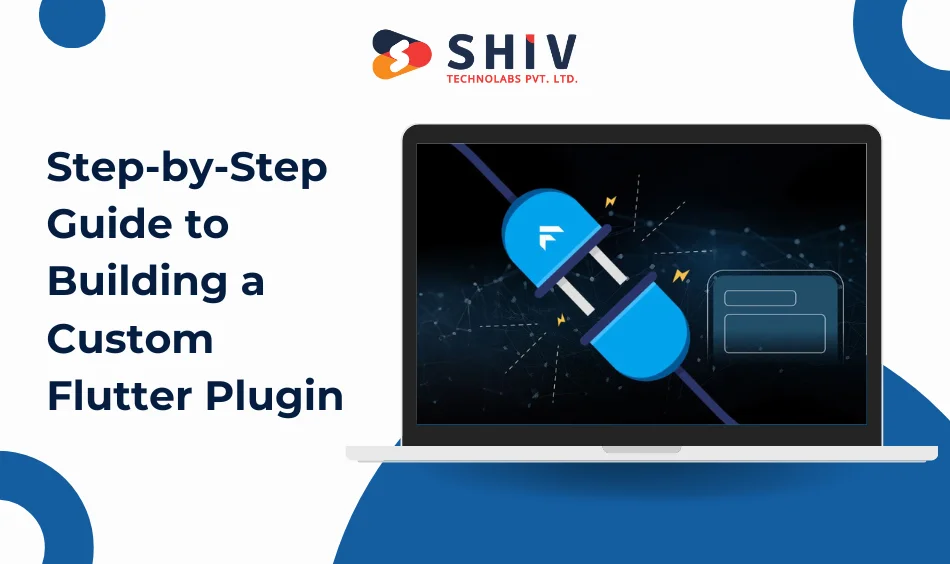
Step-by-Step Guide to Building a Custom Flutter Plugin
Creating a custom Flutter plugin involves setting up a bridge between Dart and native Android or iOS code. From generating the plugin structure to writing platform-specific logic and testing it in a sample app, we’ve covered it all.
Let’s begin with the setup.
# Step 1: Set Up Your Flutter Environment
First, make sure your Flutter development environment is ready:
- Download and install Flutter SDK from flutter.dev.
- Use an editor like Android Studio or Visual Studio Code.
- Run this command to confirm the setup:
bash
flutter doctor
To test the plugin later, create a sample Flutter app:
bash
flutter create my_plugin_test_app
# Step 2: Create the Plugin Package
Use the Flutter CLI to scaffold your plugin:
bash
flutter create --template=plugin my_custom_plugin
This creates a folder with:
lib/for Dart codeandroid/andios/for platform-specific codeexample/for a demo apppubspec.yamlfor metadata
This structure separates the Dart interface from native logic and makes your plugin easy to maintain.
# Step 3: Write the Dart Interface
Inside lib/my_custom_plugin.dart, define methods that your Flutter app will call. Use a MethodChannel to connect Dart with native platforms.
Example:
dart
import 'package:flutter/services.dart';

class MyCustomPlugin {
  static const MethodChannel _channel = MethodChannel('my_custom_plugin');

  static Future<String?> getPlatformInfo() async {
    final String? result = await _channel.invokeMethod('getPlatformInfo');
    return result;
  }
}
# Step 4: Add Android-Specific Code
Navigate to:
swift
android/src/main/kotlin/com/example/my_custom_plugin/MyCustomPlugin.kt
Add this code:
kotlin
class MyCustomPlugin: FlutterPlugin, MethodCallHandler {
    private lateinit var channel: MethodChannel

    override fun onAttachedToEngine(binding: FlutterPlugin.FlutterPluginBinding) {
        channel = MethodChannel(binding.binaryMessenger, "my_custom_plugin")
        channel.setMethodCallHandler(this)
    }

    override fun onMethodCall(call: MethodCall, result: Result) {
        if (call.method == "getPlatformInfo") {
            result.success("Android ${android.os.Build.VERSION.RELEASE}")
        } else {
            result.notImplemented()
        }
    }

    override fun onDetachedFromEngine(binding: FlutterPlugin.FlutterPluginBinding) {
        channel.setMethodCallHandler(null)
    }
}
This returns the Android OS version when getPlatformInfo is called from Dart.


# Step 5: Add iOS-Specific Code
Navigate to:
swift
ios/Classes/MyCustomPlugin.swift
Add this Swift code:
swift
public class MyCustomPlugin: NSObject, FlutterPlugin {
  public static func register(with registrar: FlutterPluginRegistrar) {
    let channel = FlutterMethodChannel(name: "my_custom_plugin", binaryMessenger: registrar.messenger())
    let instance = MyCustomPlugin()
    registrar.addMethodCallDelegate(instance, channel: channel)
  }

  public func handle(_ call: FlutterMethodCall, result: @escaping FlutterResult) {
    if call.method == "getPlatformInfo" {
      result("iOS " + UIDevice.current.systemVersion)
    } else {
      result(FlutterMethodNotImplemented)
    }
  }
}
This code sends back the iOS version when requested by Dart.
# Step 6: Test with the Example App
Now go to the example/ folder. Inside lib/main.dart, call your plugin method:
dart
void main() {
  runApp(MyApp());
}

class MyApp extends StatelessWidget {
  @override
  Widget build(BuildContext context) {
    return MaterialApp(
      home: Scaffold(
        body: Center(
          child: FutureBuilder(
            future: MyCustomPlugin.getPlatformInfo(),
            builder: (context, snapshot) {
              return Text(snapshot.data ?? "Waiting...");
            },
          ),
        ),
      ),
    );
  }
}
Run the app on Android and iOS to verify that it shows the OS version.
# Step 7: Add Plugin Metadata
Open pubspec.yaml and fill in:
yaml
name: my_custom_plugin
description: A plugin to fetch platform info.
version: 1.0.0
author: you@example.com
homepage: https://yourwebsite.com
This helps others understand and use your plugin.
# Step 8: Document Your Plugin
Create a README.md with:
- What the plugin does
- How to install and use it
- Code examples
- License and version info
Also, update CHANGELOG.md as you release new versions.
# Step 9: Publish to pub.dev (Optional)
Once everything is ready:
- Run tests:
flutter test - Login to pub.dev:
flutter pub publish --dry-run - Publish:
flutter pub publish
Your plugin will be live for others to use.
Work With Flutter Experts

At Shiv Technolabs, we help businesses build custom plugins and robust mobile apps using Flutter. Being the top-rated Flutter developers, our team can design, develop, and deliver feature-rich solutions that meet your project goals.
# Our Services Include:
- Custom Flutter plugin development
- Cross-platform mobile app development
- Android and iOS native integration
- Flutter app migration and testing
Final Thoughts
Flutter plugins help bridge the gap between Dart and native code. By creating a custom plugin, you take full control of how your app interacts with the Android or iOS platforms.
Whether you’re building an advanced hardware feature or just need custom integrations, plugins give you a reusable way to add native functionality.
Contact us today for end-to-end mobile app development services that are reliable, fast, and built for real results.