Table of Contents
At some point, every employee needs help — whether it’s submitting an IT request, checking on an HR document, or reporting a facility issue. But without a clear system in place, even simple tasks can turn into a lot of confusion, back-and-forth emails, or worse — lost requests.
If your company is already using Microsoft 365, you’ve got most of what you need. With tools like Power Apps, SharePoint, and Power Automate, setting up a self-service portal that fits your team’s daily work is doable — and no, you don’t need to write complicated code.
In this blog, we’ll walk through how to build a self-service portal that helps your team stay organized and saves time for everyone.

What is a Self-Service Portal in Microsoft 365?
Let’s keep it simple — a self-service portal is a place where employees can submit requests, track updates, or get answers without having to ask someone every time.
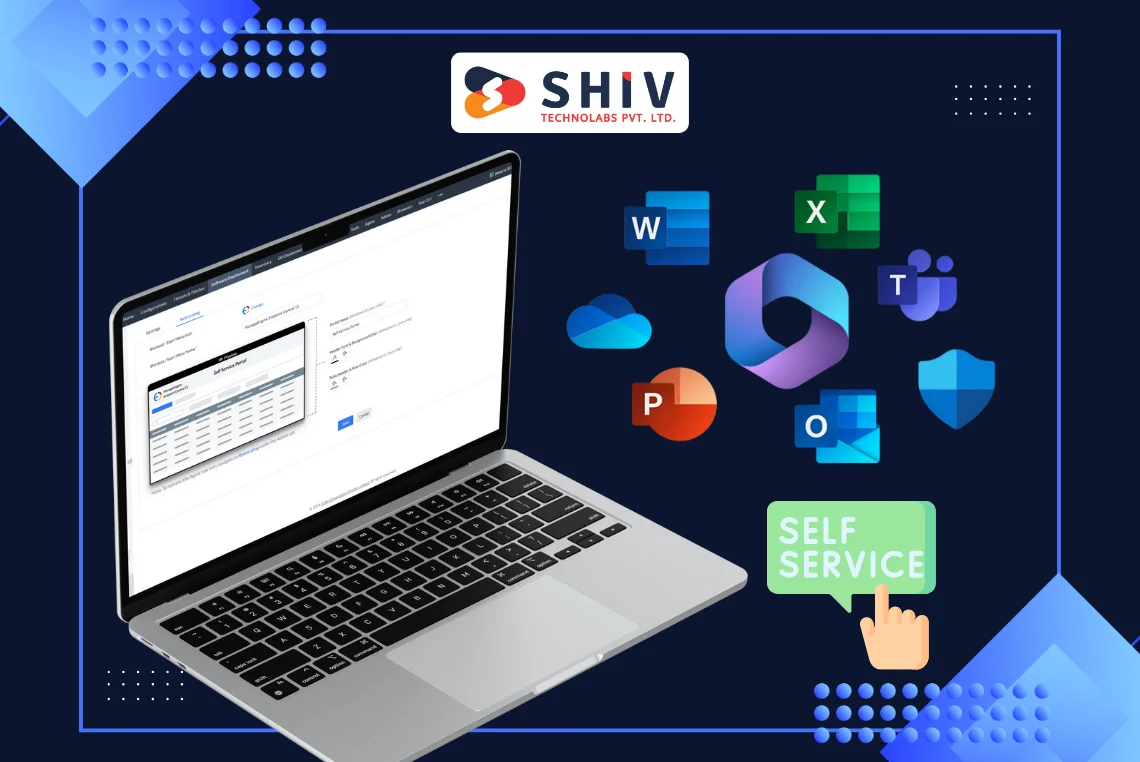
Within Microsoft 365, these portals are typically built using:
- Power Apps to design the app or form interface
- SharePoint to store all submitted requests and documents
- Power Automate to handle the background work, like sending alerts or moving requests along
The best part? You don’t need to be a developer. These tools are built to let non-technical users build practical apps with minimal effort.
Tools You’ll Need to Build a Self-Service Portal
Here’s what you’ll be working with:
- Power Apps – It is used to create forms and create the app’s layout.
- SharePoint – It stores submitted requests, uploaded files, and task logs.
- Power Automate – It automates tasks like sending emails or assigning approvals.
You can also add Microsoft Dataverse if you need more control over your data — like managing complex relationships or using advanced data rules. But for most basic needs, SharePoint is more than enough.
Key Features of Power Apps, SharePoint, and Power Automate
These three tools work together to create a flexible system tailored to your needs. Let’s look at what each offers:
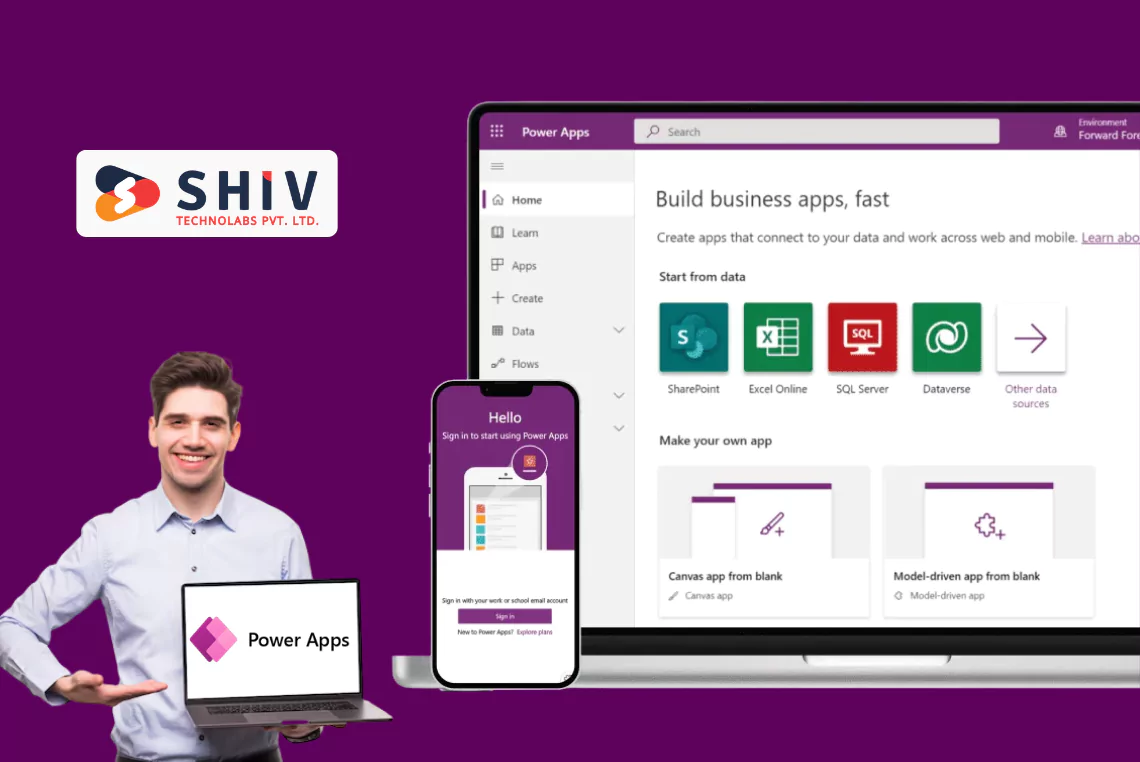
# Power Apps
- Build custom forms with drag-and-drop tools
- Design apps for desktop and mobile
- Show or hide content based on user roles
- Connect easily to SharePoint, Excel, Outlook, and other Microsoft services
Also Read: Getting Started with Power Apps Low-Code Platform
# SharePoint
- Create lists to store request data
- Attach files and manage who sees what
- Track activity and organize information
- Build dashboards using list views
# Power Automate
- Automate request approvals or alerts
- Send updates through email or Microsoft Teams
- Trigger flows based on conditions
- Save time by handling tasks in the background
Step-by-Step Guide to Setting Up Your Portal
Building a portal doesn’t have to be overwhelming. Here’s how to do it in easy steps:
Step 1: Define the Purpose
- What kind of requests will the portal handle? (IT, HR, Facilities?)
- Make a list of all the fields you’ll need on the form
Step 2: Create a SharePoint List
- Go to SharePoint and start a new list
- Add columns for each field (e.g., name, request type, submission date)
Step 3: Build the Form in Power Apps
- Open Power Apps
- Create a new canvas app or connect it to your SharePoint list
- Add form controls like dropdowns, text inputs, and file uploads
- Set validation rules to make sure required fields are filled
Step 4: Add Automations in Power Automate
- Open Power Automate
- Create a new flow that starts when a form is submitted
- Add actions like:
- Send an email to the support team
- Create a task in Planner
- Update another list or Excel file
Step 5: Apply User Permissions
- In SharePoint, set who can submit, view, or manage requests
- Let regular users add entries, but block them from editing others’ data
- Give admins full access to the list and app
Step 6: Test Your Portal
- Submit a few sample requests
- Check that everything flows as expected
- Fix any bugs before going live
Step 7: Publish and Share
- Share the app with your team
- Post quick how-to notes in Microsoft Teams or email for easy access
Pro Tips to Make Your Portal Easy to Use
Even the best tools are useless if no one wants to use them. Here’s how to keep your portal user-friendly:
# Keep It Simple
Stick to what’s needed. Don’t overload the form with extra fields or confusing layouts.
# Add Small Help Notes
A short line next to each field can go a long way, especially for people who aren’t tech-savvy.
# Test Before Launch
Pick a few coworkers to try it out. Use their feedback to fine-tune the form before sharing it with the full team.


When You Should Hire Power Apps Developers
Power Apps is simple enough to get started with — but not every company has time or resources to build a polished app from scratch.
Here are some good reasons to hire Power Apps experts:
- You need custom logic or automation that’s tricky to build yourself
- You want to connect the portal to other systems like SAP or Zoho
- You’re aiming for a professional look and faster performance
- Your internal team is already tied up with other work
Need Help Setting Up a Microsoft 365 Portal?
At Shiv Technolabs, we build custom self-service portals using Microsoft Power Apps, SharePoint, and Power Automate. Our goal? Make your internal process simpler.
Whether you need a basic setup or a complex system with advanced logic and roles, our team can help. From planning and development to training and support, we’ve got you covered.
Keep Your Portal Updated
Once the portal is live, don’t treat it as a one-time task. Keep improving it over time.
# Ask for Feedback
Check in with users after a few weeks. Are the forms easy to fill out? Anything confusing or missing?
# Train Your Team
Create a short how-to guide or video. Share it during onboarding or team meetings so everyone knows how to use the portal.
Conclusion
A self-service portal built with Microsoft 365 helps reduce clutter, save time, and let your team handle common requests without delays.
Whether you’re dealing with IT tickets, HR questions, or facilities requests, Power Apps, SharePoint, and Power Automate give you all the tools you need. And if you hit a wall or want something more advanced, working with experienced Power Apps developers is always a smart move.
Ready to build your portal? Shiv Technolabs is here to help.