Table of Contents
Most app ideas begin with a simple thought. You notice a problem, imagine a better way to solve it, and start thinking, “I have an app idea; what should I do next?”
That moment feels exciting. But the next few steps matter more than the idea itself. Many founders rush into design or development too early. Later, they realized users were not ready to pay for it, the budget was unclear, or the app had too many features from day one.
The better path is simple. Validate the idea, protect it, choose the right build method, and follow a clear mobile app development guide before creating a small MVP that real users can test. This gives you proof before you invest in a full product. This guide walks you through each stage, from idea validation to launch.
Quick Answer:
If you have an app idea, start with validation, not development. Check whether real users need it, protect your concept, plan your MVP, set a budget, pick the right team, and launch a simple version first. A focused MVP helps you test demand before spending too much time or money.
How Do You Validate Your App Idea Before You Build It?
Validation helps you check whether your app idea solves a real problem before you move into MVP development services. It does not need a huge budget. You only need honest feedback from the right people.
1. Talk to People Who Face the Problem
Start with real conversations with the people who deal with the problem your app wants to solve. Ask simple questions like:
- What do you currently use to solve this problem?
- What frustrates you about that method?
- Would you pay for a better option?
- What feature would matter most to you?
You can find these people on LinkedIn, Reddit, Facebook groups, Slack groups, or niche online communities. Their answers will help you see whether your idea has real demand.
2. Study Similar Apps
Search the App Store and Google Play for apps close to your idea. Do not worry if similar apps already exist. That can actually mean people need this type of solution. Look at:
- App ratings
- Pricing models
- User reviews
- Common complaints
- Missing features
- Screenshots and app flow
Pay close attention to low-rated reviews. These reviews often reveal what users still want but are not getting.
3. Create a Simple Landing Page
You do not need a finished app to test interest. Build a one-page website that explains your app idea, the main benefit, and who it is for. Add a button such as:
- Join the Waitlist
- Get Early Access
- Notify Me at Launch
Then share the page with your target audience. If people sign up, your idea has early interest. If very few people respond, you may need to adjust your message or rethink the idea.
4. Run a Short Survey
Create a short survey with five or six questions. Keep it simple so people complete it. Ask things like:
- Their biggest problem
- Current solution
- Interest in your idea
- Willingness to pay
- Most useful features
If many people say they would use or pay for the app, you have a stronger signal to move forward.
How Do You Protect Your App Idea Before You Share It?
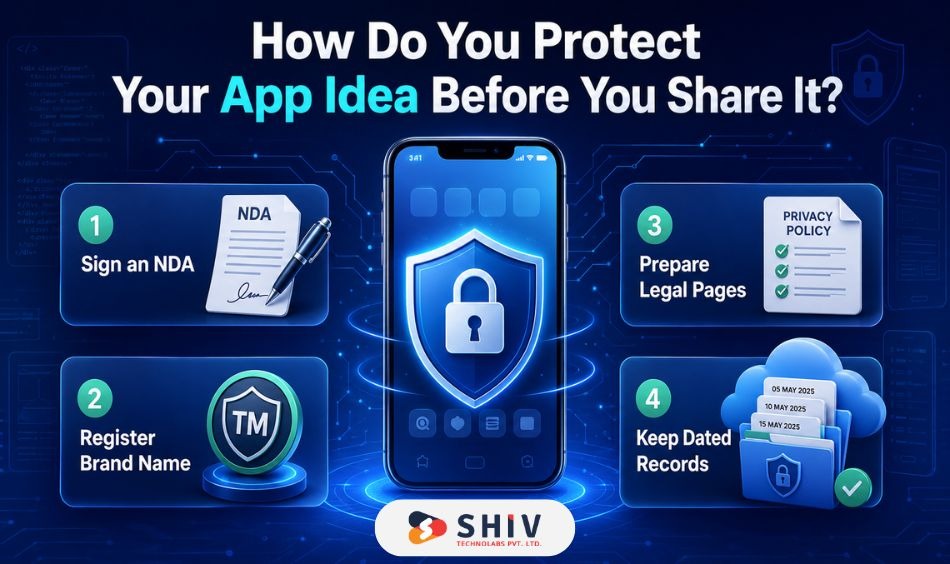
Once your idea gets positive feedback, you may need to share it with developers, designers, investors, or partners. Before that, take a few simple steps to protect your work.
1. Use an NDA for Detailed Discussions
An NDA, or Non-Disclosure Agreement, helps protect your idea when you share detailed documents, designs, or business plans.
It does not protect every part of your idea, but it creates a legal record. Ask developers, agencies, and contractors to sign one before you share sensitive details.
2. Register Your Brand Name Early
If you already have a strong app name, check whether the domain and social handles are available. You can also consider trademark registration for your app name, logo, or tagline.
This helps you avoid naming conflicts later, especially if your app starts gaining users.
3. Prepare Basic Legal Pages
If your app collects user data, you need basic legal documents. These may include:
- Privacy Policy
- Terms of Use
- Cookie Policy, if needed
- Data handling rules
If your app works with finance, healthcare, children, or personal data, speak with a legal expert before launch.
4. Keep Dated Records of Your Work
Save your wireframes, notes, idea documents, feature lists, and meeting records in a dated folder. Use Google Drive, Notion, or another storage tool.
These records help show how your idea developed over time.
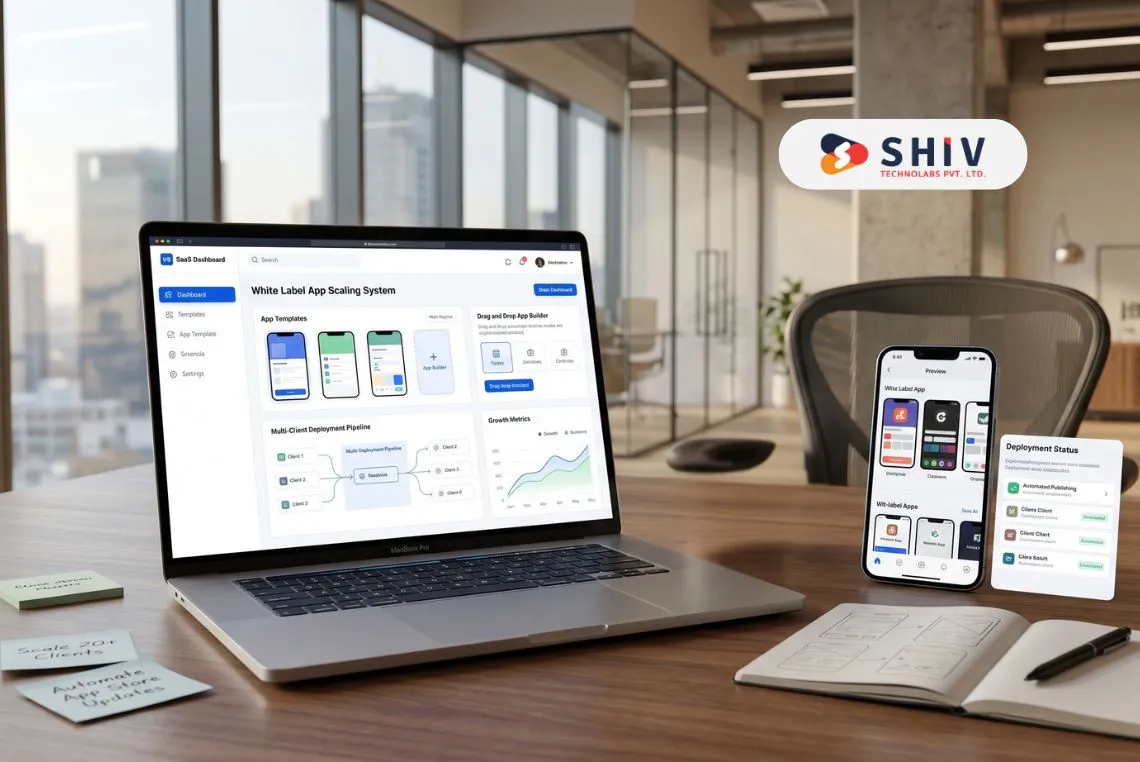
Who Should Build Your App?
After validation and basic protection, the next question is whether you need expert mobile app development services to build the app properly. The answer depends on your budget, timeline, and long-term plan.
1. DIY or No-Code Tools
No-code tools like Bubble, Glide, and Adalo can help you create a simple version without writing code. This works well when you want to test the idea quickly. It may not work well for apps that need complex features, high performance, or custom backend logic.
Best for: early testing, simple MVPs, internal tools, and clickable demos.
2. Freelance Developers
Freelancers can be a good choice if your app has a small and clear scope. They are often more affordable than agencies. The main challenge is project management. You may need to handle planning, testing, design coordination, and quality checks yourself.
Best for: small apps, fixed-scope projects, and founders with clear documentation.
3. Development Agencies
A development agency gives you access to designers, developers, testers, and project managers in one place, making it easier to hire dedicated developers for a structured build. This usually costs more than hiring a freelancer, but it gives you better structure. Agencies are useful when you need guidance from idea to launch.
Best for: MVPs, startup products, scalable apps, and long-term development.
4. Dedicated Team
If your app is the base of a startup, a technical co-founder or dedicated team can be a strong option. This gives you long-term technical support. However, finding the right person or team takes time.
Best for: funded startups, large product plans, and apps that need constant feature updates.
What Is an MVP, and How Do You Build One?
An MVP is the first working version of your app. It should include only the features needed to solve the main problem. The goal is not to build everything. The goal is to test whether users care enough to use it.
1. Why an MVP Matters
An MVP helps you:
- Save money: You avoid spending on features users may not need.
- Get early feedback: Real users show what works and what needs changes.
- Attract investors: A working product is stronger than an idea deck.
- Build with focus: You create features based on user behavior, not guesswork.
For example, a food delivery app MVP may only need restaurant listing, cart, payment, order tracking, and user login. Features like loyalty points, gift cards, and advanced filters can come later.
2. How to Build a Working MVP
Start with a clear feature list. Separate must-have features from nice-to-have features. A simple MVP process looks like this:
- List the main problem your app solves.
- Write the core user journey.
- Create wireframes in Figma.
- Build a clickable prototype.
- Test the prototype with users.
- Develop the MVP.
- Release it to a small group.
- Track usage and feedback.
Use beta testing tools such as TestFlight for iOS and Google Play Internal Testing for Android. This helps you fix issues before the public launch.
How Much Does It Cost to Build an App, and How Long Does It Take?
App cost depends on features, design, platform, backend needs, and the team you hire. A small MVP costs much less than a complex app with custom workflows and third-party integrations.
1. What Affects App Development Cost?
The main cost factors include:
- Feature count: More features need more design, coding, and testing.
- Platform choice: iOS, Android, or both changes the total effort.
- Design complexity: Custom UI, animations, and advanced screens add time.
- Backend needs: User accounts, payments, admin panels, and APIs increase the cost.
- Team type: Freelancers, agencies, and in-house teams charge differently.
2. Estimated App Development Costs
| Type of App | Average Cost | Timeline |
|---|---|---|
| Basic MVP | $8,000 to $20,000 | 6 to 10 weeks |
| Mid-Level App | $20,000 to $55,000 | 3 to 5 months |
| Complex App | $55,000+ | 5 to 10 months |
These numbers can change based on region, scope, and feature depth.
3. Hourly Developer Rates by Region
| Region | Average Hourly Rate | Suitable For |
|---|---|---|
| India | $20 to $45/hr | Cost-friendly MVPs |
| Eastern Europe | $40 to $75/hr | Balanced cost and quality |
| USA and Canada | $85 to $160/hr | Enterprise-grade builds |
| UK and Australia | $75 to $140/hr | Local market-focused apps |
4. Hidden Costs Founders Often Miss
App costs do not end after launch. Keep an extra budget for:
- App maintenance
- Hosting and servers
- App store fees
- Third-party APIs
- Bug fixes
- Security updates
- New OS version updates
- Marketing and launch assets
A safe approach is to keep 15% to 20% of your total budget for post-launch changes.
How Do You Choose the Right Tech Stack for Your App?
Your tech stack decides how your app is built, maintained, and scaled. Pick tools based on your app type, budget, and growth plan.
1. Decide Your App Type First
There are three common app types:
- Native apps: Built separately for iOS and Android. Best for high-performance apps.
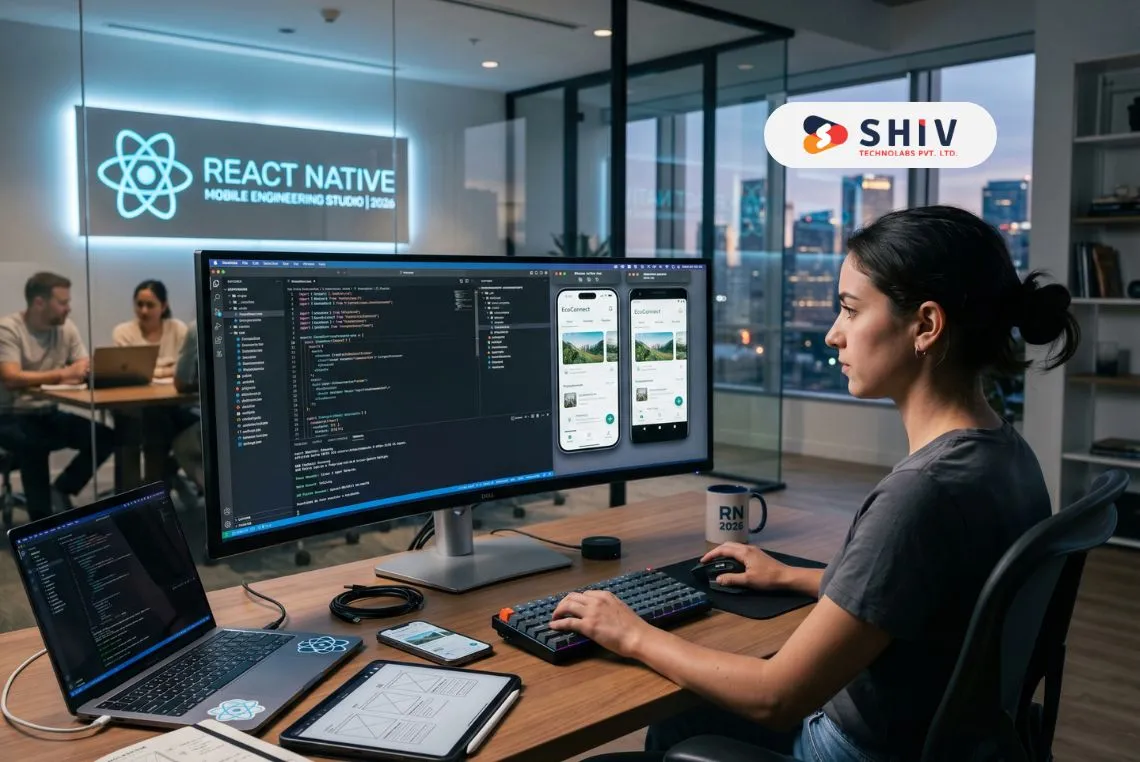
- Cross-platform apps: One codebase works for both platforms. Flutter and React Native are popular choices.
- Progressive web apps: Browser-based apps that feel close to mobile apps. Best for low-cost MVPs and internal tools.
For many startups, cross-platform app development is a smart first choice because it saves time and cost.
2. Pick the Frontend Framework
The frontend is what users see and touch.
Popular options include:
- Flutter: Good for fast performance and polished UI.
- React Native: Good for flexible apps and a large developer pool.
- Swift: Best for iOS-only apps.
- Kotlin: Best for Android-only apps.
If you want to launch on both iOS and Android, Flutter or React Native usually makes sense for the first version.
3. Choose the Backend
The backend handles data, users, payments, and app logic.
Common choices include:
- Firebase: Fast setup for MVPs.
- Supabase: Open-source backend with strong database control.
- AWS Amplify: Useful for apps that may scale quickly.
- Node.js: Good for custom and real-time apps.
- Django: Strong for secure and structured backend systems.
For a simple MVP, Firebase can work well. For larger apps, a custom backend may be better.
4. Add Analytics From Day One
Analytics help you see how users behave inside the app.
Use tools like:
- Firebase Analytics
- Mixpanel
- Crashlytics
- Google Play Console
- App Store Connect
Track signups, active users, drop-offs, crashes, and feature usage. These numbers help you decide what to improve next.
How Do You Launch Your App and Get Your First Users?
Launching an app is not just publishing it on the App Store or Google Play. You need a simple plan to attract, engage, and retain early users.
1. Prepare Before Launch
Before launch, check these items:
- App name and description
- Screenshots
- App icon
- Landing page
- Privacy Policy
- Terms of Use
- Beta feedback
- App store keywords
- Support email
Your listing should explain the app clearly. Users should quickly get what the app does and why it matters.
2. Build Interest Before Launch
Start building interest before your app goes live.
You can:
- Create a waitlist
- Share progress on LinkedIn
- Post useful updates in niche groups
- Invite beta users
- Share short demo videos
- Offer early access
This gives you a small audience before launch day.
3. Get Your First Hundred Users
Your first users often come from direct outreach. Start with people who already face the problem your app solves.
Try these methods:
- Message people in relevant communities
- Ask beta testers to invite others
- Offer early access
- Share your founder story
- Partner with small creators
- Post on Product Hunt or Betalist
Focus on users who give feedback. A small group of active users is more useful than a large group that never returns.
4. Keep Improving After Launch
Your first version is only the beginning. After launch, watch how users interact with the app.
Track:
- Signup rate
- Retention
- Feature usage
- App crashes
- Support requests
- Reviews
- Drop-off points
Use this feedback to plan updates. Small, regular improvements help your app grow in the right direction.
How Shiv Technolabs Helps Founders Move From Idea to Launch
Turning an app idea into a working product takes planning, design, development, testing, and post-launch care. The right team can help you avoid wasted effort and build a product users can actually use.
Shiv Technolabs helps startups and growing companies plan, design, and develop mobile apps from the idea stage to launch. The team can support MVP planning, UI/UX design, cross-platform development, backend development, QA testing, and app maintenance.
Here is how the process can help:
- Idea validation support: Review your app concept, audience, and feature scope.
- MVP planning: Decide what to build first and what to keep for later.
- UI/UX design: Create simple and user-friendly app screens.
- Mobile app development: Build apps for iOS, Android, or both.
- Testing and launch: Fix bugs, prepare app store assets, and support release.
- Post-launch support: Add new features, fix issues, and maintain performance.
If you have an app idea and want to turn it into a real product, contact Shiv Technolabs to move from concept to launch with a clear and practical development process.
Conclusion
Every successful app starts with one idea. But the idea alone is not enough. The real progress starts when you validate it, protect it, plan the MVP, set a budget, and put it in front of real users. Do not try to build everything in the first version. Start with the core problem. Build the smallest useful version. Test it with real people. Then improve it based on feedback.
That approach reduces risk and gives your app a better chance in the market. Your first version does not need to be perfect. It needs to be useful, clear, and ready for real feedback. If your app idea has been sitting in your notes for months, now is the right time to take the next practical step. Validate it, shape it, and start building with a clear plan.
Frequently Asked Questions
How Do I Check if My App Idea Already Exists?
Search the App Store, Google Play, Product Hunt, and startup directories. Similar apps do not always mean your idea is weak. They may prove demand. Focus on what users still need.
Can I Protect My App Idea With an NDA?
Yes. An NDA can protect your documents, designs, plans, and discussions. It works best when used before sharing detailed information with developers, designers, or outside partners.
How Much Does It Cost to Build an MVP App?
A basic MVP may cost $8,000 to $20,000. The final cost depends on features, design, backend needs, app platform, development region, and the team you choose.
Which Is Better for a First App, iOS or Android?
It depends on your target users. iOS may suit premium markets, while Android can help reach wider audiences. Cross-platform development is often practical for a first launch.
How Long Does It Take to Build a Basic App?
A simple MVP can take 6 to 10 weeks. A more detailed app may take 3 to 6 months. Clear scope, fast feedback, and a focused feature list can reduce delays.
Can AI Help Me Build My App?
Yes. AI can help with research, wireframes, content, testing, and code support. Still, experienced developers are needed for product logic, security, architecture, and final quality.
What Is the Cheapest Way to Test My App Idea?
Create a landing page, run a short survey, and collect waitlist signups. You can also build a clickable prototype before writing code. This helps test demand at low cost.
How Do I Get My First Hundred Users?
Start with direct outreach, niche communities, beta groups, and referrals. Give users a clear reason to try the app. Treat early users as product advisors, not just downloads.