Table of Contents
Successful mobile apps are built on more than just a strong idea, they are shaped by a clear, structured development process. To develop a successful mobile app, you need need a defined process that guides the product from idea to design, development, launch, and ongoing improvement.
This guide covers every phase of mobile app development in detail. Whether you are a founder building your first product or a business team adding a digital channel, each step here directly affects whether your app succeeds or disappears after 90 days.
Quick Answer
To develop a mobile app, start by defining your goals and target users, then choose the right platform (iOS, Android, or cross-platform). Build wireframes and prototypes before writing code. Develop the backend and frontend in parallel, run thorough testing across devices, and launch on the App Store or Google Play. After launch, track performance data and release updates consistently.
How to Define Your App Strategy?
The strategy phase shapes every decision that follows. This is where you answer the most important questions about your product before development costs are committed.
1. Set Clear Goals First
Start with the three questions that matter most:
- Who will use this app? Define your primary user by age, behavior, and the specific problem they face.
- What problem does it solve? Write one sentence that captures the core value your app delivers.
- What does success look like at 6 months? Set a measurable goal: active users, retention rate, or revenue.
2. Analyze Your Competitors
Look at the apps already serving the same users. Check their ratings, read the one-star reviews, and identify what users are asking for that the current options do not provide. This gap analysis tells you exactly where to position your app.
Competitor analysis is not about copying features. It shows you which approaches the market has already validated and where there is space for something better.
3. Choose Your Platform
Platform selection affects your timeline, budget, and the developers you need to hire. iOS-only apps reach a smaller audience but often deliver stronger revenue per user in Western markets. Android covers a broader global user base. Cross-platform development frameworks like React Native and Flutter let a single codebase run on both platforms, which reduces cost but requires careful architectural planning.
For most early-stage products, starting with one platform and expanding after validating traction is the more practical approach.
4. Select a Monetization Model
Revenue structure should be decided before development begins, not after launch. Your monetization choice affects the app architecture, onboarding design, and which features belong in the free versus paid experience. Common models include:
- In-app subscriptions: Strong for tools, productivity apps, and content platforms where ongoing value is clear.
- Freemium with in-app purchases: Suitable for games and apps where core usage is free but advanced features carry a cost.
- One-time paid download: Works for niche professional tools where users are willing to pay before they start.
- In-app advertising: Relevant for high-volume consumer apps where scale creates revenue through impressions.
How to Plan Your Mobile App Development Lifecycle?
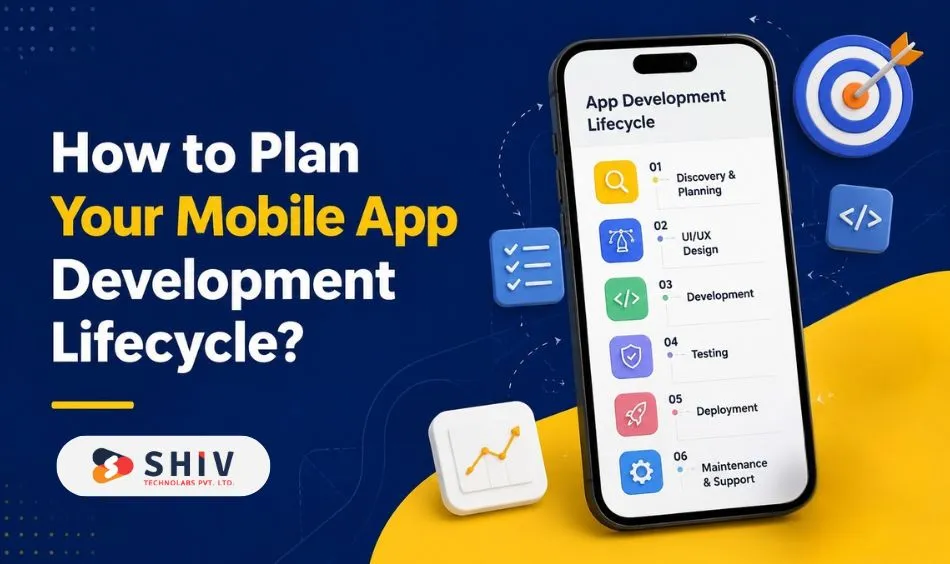
The mobile app development lifecycle is the end-to-end sequence of phases your project moves through, from initial planning to post-launch maintenance. Understanding this lifecycle prevents the most common causes of delayed launches and cost overruns.
1. Define Functional and Non-functional Requirements
Functional requirements describe what your app does: user login, search, payment processing, push notifications. These are the features. Non-functional requirements describe how the app performs: speed, security, scalability, and offline capability. Both categories need documentation before development begins.
Teams that skip requirements documentation discover conflicts late in development, when fixes are expensive. A clear requirements document also gives your development team a reference to build against, reducing scope creep.
2. Build Your Product Roadmap
A product roadmap sequences your features across time. The first version of your app should be a Minimum Viable Product (MVP) – the smallest set of features that delivers your core value and allows you to test your assumptions with real users.
An MVP is not a stripped-down or low-quality product. It is a focused one. Features that cannot be traced back to your core value statement belong in a later release, not the MVP. This discipline is what keeps early timelines and budgets realistic.
UI/UX Design: Building an App People Stay With
Design is often what separates apps users love from apps they delete after two sessions. The UI/UX phase is where your product becomes tangible for the first time, before a single line of production code is written.
1. Information Architecture
Information architecture defines how content and features are organized within the app. It answers where a user goes to complete each task and how many taps it takes to get there. Apps with clear information architecture feel intuitive. Apps without it feel confusing, even when the features themselves are strong.
2. Wireframes
Wireframes are low-fidelity layouts that show the structure of each screen without visual styling. They are the fastest way to test navigation flow and identify structural problems before design resources are committed. A wireframe review session often catches issues that would have taken weeks to fix in a coded product.
3. Prototypes
A prototype is an interactive mockup that simulates the user experience. Testing a prototype with real users from your target audience reveals whether the design serves them before development begins. The feedback gathered here directly improves the final product and reduces post-launch rework.
How Does the Development Phase Work?
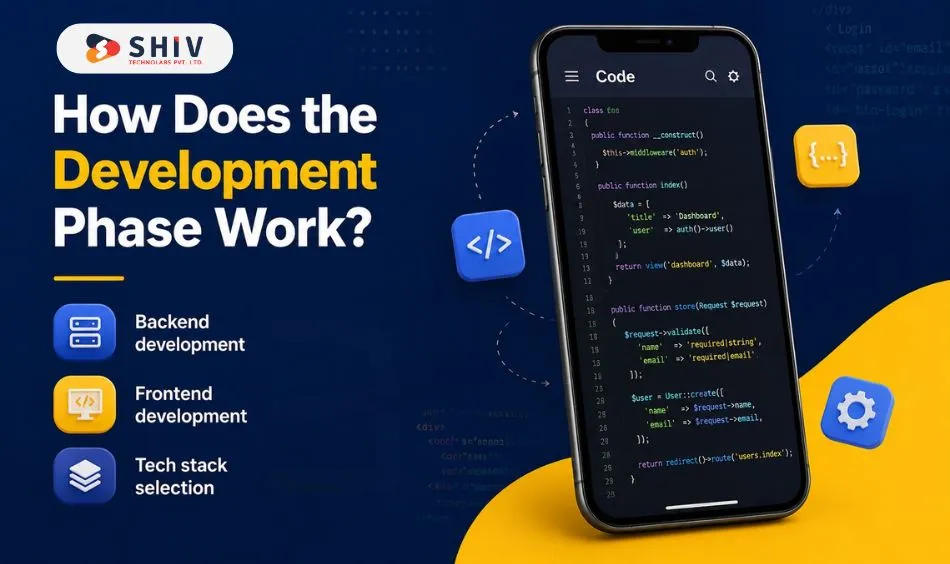
Development turns your approved designs into a working product. This phase involves both backend and frontend work, which typically run in parallel across your development team.
1. Backend Development
Backend development is the server-side layer that handles data storage, business logic, authentication, and third-party integrations. Your development team selects a programming language, sets up databases, and configures the hosting environment during this phase. Decisions made here affect the app’s performance, security, and ability to scale as your user base grows.
2. Frontend Development
Frontend development is what users see and interact with. The approach depends on your platform strategy and budget. Native development (Swift for iOS, Kotlin for Android) delivers the strongest performance and the most platform-specific features. Cross-platform frameworks like React Native and Flutter cover both platforms from a single codebase, which reduces development time and cost.
3. Tech Stack Selection
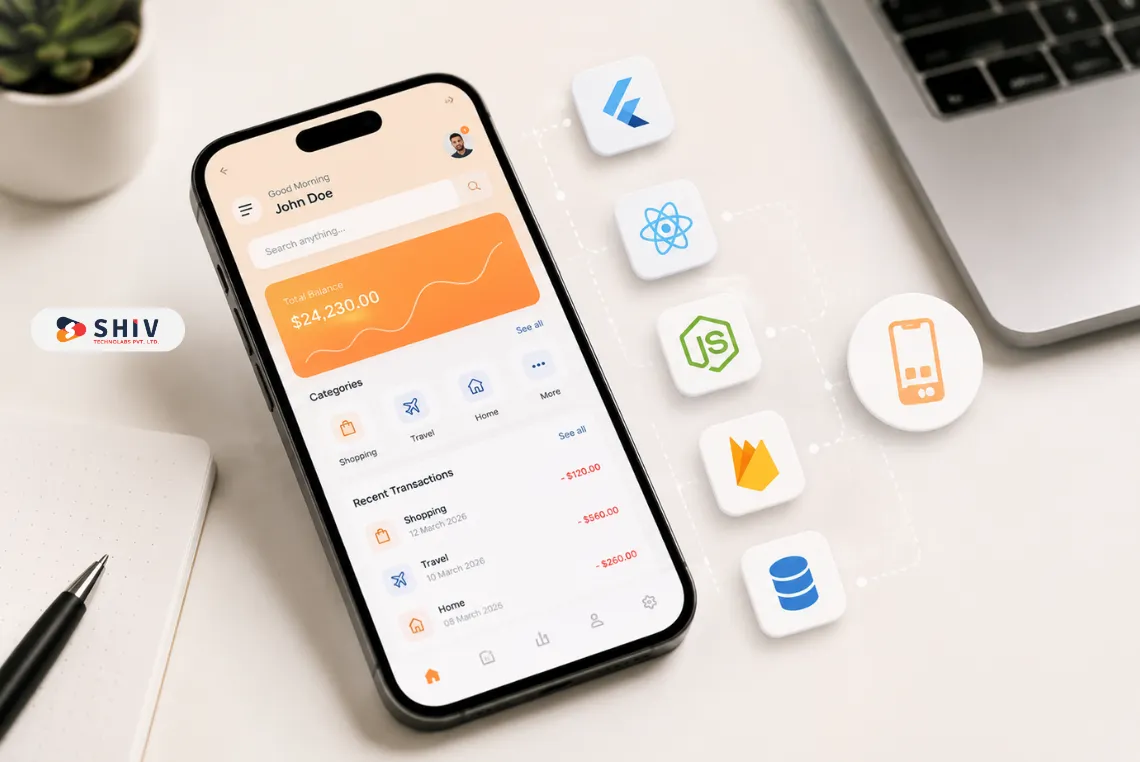
Your tech stack is the combination of programming languages, frameworks, and tools your development team uses to build the app. The right stack depends on your platform choice, the complexity of your features, and the background of the developers you are working with. Common mobile stacks include React Native with a Node.js backend, Flutter with Firebase, and Swift or Kotlin with a custom API layer.
Testing: The Phase Teams Cut Short Most Often
Testing determines whether the product you built actually works as intended across all the conditions real users will encounter. Cutting the testing phase short is the most common reason apps receive poor ratings in the first week after launch.
1. Functional Testing
Functional testing checks that every feature works as specified in your requirements document. Each user flow is tested against the expected outcome. Bugs caught here cost far less to fix than bugs reported by users after launch.
2. Performance Testing
Performance testing measures how the app behaves under load. This includes how quickly screens load, how the app responds when multiple users are active simultaneously, and how it performs on slower network connections. An app that works perfectly in testing but fails under real-world network conditions will lose users quickly.
3. Security Testing
Security testing identifies vulnerabilities in authentication, data storage, and API communication. This phase is non-negotiable for apps that handle payments, health data, or personal information. A security breach post-launch damages user trust in ways that are very difficult to recover from.
4. Device and OS Compatibility Testing
Mobile users run dozens of different device models and OS versions. Your QA team tests across a representative range of devices to catch layout breaks, crashes, and functional failures that only appear on specific hardware or software configurations. This testing prevents the one-star reviews that begin with ‘crashes on my device every time.’
Deployment: Submitting to the App Store and Google Play
When testing is complete and the product meets quality standards, the deployment phase begins. This involves preparing your app for submission to the platform stores.
Both Apple and Google require a developer account, compliance with their content and design guidelines, and a set of screenshots, descriptions, and metadata for the store listing. Apple’s review process typically takes one to three days. Google’s review is usually faster, though both stores can request revisions that extend the timeline.
Your store listing works as marketing for your app. An App Store Optimization (ASO) strategy for this listing directly affects how many users discover and download the app organically.
Post-Launch: How to Keep Your App Growing
Launch is not the finish line. The apps with the strongest long-term performance are the ones with a structured post-launch operation covering analytics, user feedback, and regular updates.
1. Track Performance Indicators
The metrics that matter most in the first 90 days after launch include:
- Day-1, Day-7, and Day-30 Retention Rates: These tell you whether users find enough value to return.
- Session Length and Frequency: How long users stay and how often they return.
- Crash Rate and ANR (Application Not Responding) Rate: Stability is a retention driver.
- Conversion Rate on Key Actions: Registration completion, first purchase, subscription activation.
2. Release Updates Consistently
Apps that stop receiving updates within 90 days of launch see a sharper decline in ratings and organic visibility. A regular update cadence, even small quality-of-life improvements signals to both users and app store algorithms that the product is actively maintained.
Prioritize updates based on crash reports, user reviews, and conversion data rather than internal preference. The users who leave reviews and submit support tickets are telling you what the next update should address.
How Shiv Technolabs Handles Mobile App Development
Shiv Technolabs has delivered mobile app projects across iOS, Android, React Native, and Flutter for clients in 30+ countries.
Our team covers the full mobile app development lifecycle – from product strategy and UI/UX design to backend development, testing, App Store submission, and post-launch support.
We work with startups building their first product, established businesses adding mobile capabilities, and agencies that need a reliable white-label development partner.
Every project starts with a discovery phase where we define your goals, identify your users, and build a roadmap that fits your timeline and budget.
Ready to Build Your Mobile App? Contact Shiv Technolabs today.
Conclusion
Building a mobile app that performs well after launch takes more than a strong idea. It takes a structured approach across strategy, design, development, testing, and release. Each phase builds on the one before it, and skipping steps in the process is what leads to apps that fail to retain users after launch.
The teams that develop successful mobile apps treat every phase with the same attention – from the first requirements document to the first post-launch update. If you are planning a mobile app project and want a team that covers this full process, Shiv Technolabs is ready to work with you.
Frequently Asked Questions
How long does it take to develop a successful mobile app?
The timeline varies by project scope. A focused MVP typically takes 3 to 5 months from requirements to launch. A full-featured product with complex backend integrations takes 6 to 12 months. AI-assisted development tools are reducing timelines for some project types, but design and testing phases still require structured time.
How much does it cost to develop a mobile app?
Development cost depends on platform choice, feature complexity, and the location of your development team. A straightforward single-platform MVP built by an experienced team in India typically ranges from $15,000 to $40,000. A cross-platform app with custom backend integrations ranges from $40,000 to $100,000 or more for US- or UK-based teams.
What is the difference between native and cross-platform mobile app development?
Native apps are built separately for each platform using platform-specific languages – Swift for iOS and Kotlin for Android. They perform at the highest level and use all platform features natively. Cross-platform apps use a single codebase that runs on both platforms via frameworks like React Native or Flutter, which reduces cost and development time but can have limitations for highly complex or hardware-specific features.
Should I build for iOS or Android first?
This depends on your target audience. If your primary users are in the US, UK, or Australia and you are targeting a professional or commercial segment, iOS often delivers stronger early traction. If your audience is global or based in markets where Android dominates, building for Android first makes more practical sense. Cross-platform development removes this decision for most early-stage products.
What is a Minimum Viable Product (MVP) in mobile app development?
An MVP is the first public version of your app that includes only the features needed to deliver core value and test your assumptions with real users. It is not a low-quality product – it is a focused one. Building an MVP before full product development reduces financial risk and provides real user data to guide the next phase of the build.
How do I know if my mobile app idea is worth building?
Validation before development reduces the risk of building something no one needs. Conduct interviews with 10 to 15 people who match your target user profile. Test whether they currently face the problem you want to solve and whether they would use something that addresses it. Competitor analysis also shows whether the market has already validated similar products and where gaps exist.
What happens after a mobile app is launched?
Post-launch management includes monitoring analytics, responding to user reviews, releasing bug fixes, and planning feature updates based on user behavior data. App store algorithms favor apps that receive consistent updates and maintain strong ratings. A post-launch plan should be part of your project plan before development begins, not an afterthought after the app goes live.
How do I choose a mobile app development company?
Look for a development company with a published portfolio of completed apps in similar categories to yours. Check their reviews on Clutch or similar platforms. Evaluate whether they cover the full lifecycle – strategy, design, development, testing, and post-launch support – or only part of it. A team that asks detailed questions about your users and goals before discussing technology is a strong signal of a structured, experienced partner.